This page relates to the Cloud version of Rich Filters for Jira Dashboards. Please see the documentation index for Server & Data Center versions.
Get started with Rich Filters for Jira Dashboards
This article provides newcomers to the Rich Filters for Jira Dashboards app with a rapid introduction, explaining what it is and what it can do, how to access it, and how to use it to create a simple dashboard.
Prerequisites
- Access to a Jira instance with the Rich Filters for Jira Dashboards app installed on it.
- One or more existing Jira filters to act as a base for your rich filters.
- A basic understanding of Jira Query Language (JQL).
Rich filters is free to trial for 30 days; after that, the subscription cost scales according to different user tiers. See our pricing information for more details.
Why should I use Rich Filters for Jira Dashboards?
Whether you're a casual user or an expert, you'll agree that Jira can sometimes be cumbersome and hard to handle, especially as your querying and reporting needs get more complex, and you start to work with larger teams with diverse user requirements.
Rich Filters for Jira Dashboards allows you to take control of your Jira, providing a powerful and flexible toolset for generating custom data views and reports, delivered in a user-friendly, intuitive package. You'll be able to replace multiple Jira dashboards with one rich filter-powered dashboard, keeping all your functionality in one place and drastically improving productivity.
Key features include:
- Simple and complex filters applied in combination to generate precise real time data views.
- Multiple views for different requirements and job roles.
- Several different gadgets for sophisticated reporting including charts, gauges, statistics, and metrics.
- Multidimensional data insights with numeric & time-tracking fields, averages & other formulas, and custom values and ratios.
- Intuitive UI that allows easy editing, reordering, and color-coding.
This content is written with the Cloud version of Jira in mind. Rich filters for Jira Data Center is covered in a separate resource.
Final result for this tutorial
When you've worked through all the steps in this tutorial, you should have a dashboard that includes:
- A Rich Filter Controller gadget that includes two filter buttons to filter the issues listed in your dashboard.
- A Rich Filter Results gadget to display the list of issues.
Create and access rich filters
In essence, a rich filter is a smart layer that sits on top of a basic Jira filter and provides advanced options for filtering and displaying the issues it returns. Let's look at how to access rich filters, and create your first one.
- Once Rich Filters for Jira Dashboards is installed on your Jira instance, you can start to use it by selecting Apps > Rich Filters from the main Jira menu.

- You should now be on the main rich filter screen. Create a new rich filter with the Create new Rich Filter button.

In the resulting dialog box, enter a name for your rich filter and choose an existing Jira filter to base it upon.

You need to have rights to view the selected Jira filter but you don't need to be its owner.
- Click the Create button; this will create the rich filter and relocate you to its config screen. This has a number of settings tabs down the side, as well as common actions for copying and deleting rich filters.

You'll learn about all of these settings elsewhere in the documentation; for now, you'll move on and learn how to create your first rich filter-powered dashboard.
You can access your rich filters at any time by selecting Apps > Rich Filters from the main menu. You'll find them listed there.
Create a simple dashboard
- From the main Jira menu, select Dashboards > Create dashboard.

- In the resulting dialog box, enter a Name for your dashboard and click Save, and you'll be relocated to the dashboard config screen.

- Here you can add gadgets to your dashboard. The two types of rich filter gadgets you are currently interested in are:
- Rich Filter Results gadgets to display your issues.
- Rich Filter Controller gadgets to filter the display of data in your rich filter gadgets.
- Add a Rich Filter Results gadget:
- Start typing "Rich Filter Results" in the Add a Gadget side panel search box to filter for the gadget you want, and click its Add button.
- In the Rich Filter Results gadget you just added, for now just select your rich filter in the dropdown menu at the top, then click Submit to save it (we'll cover the other options available here in other tutorials).

- Add a Rich Filter Controller gadget in the same way as above.
- Again, once you've added your gadget, select your rich filter in the config box dropdown, and click Submit.
- Again, once you've added your gadget, select your rich filter in the config box dropdown, and click Submit.
- Drag and drop the Rich Filter Controller gadget into the left-hand column of the dashboard, and the Rich Filter Results gadget into the right-hand column.
- If you want your dashboard layout to look exactly like ours, select the Left sidebar layout from the Change layout menu at the top of the dashboard.

At this point, you should have a dashboard in edit mode, with two gadgets inserted into it.

- If you navigate somewhere else, you can find your way back to your dashboard by selecting your dashboard's name from the Dashboards menu.
- You can get back to the config form for each gadget by selecting Configure from the … menu in the top-right corner of the gadget.
Once you have finished experimenting with your config settings, click Done to exit dashboard edit mode.
If you don't see any issues displayed on your dashboard, make sure the Jira filter you selected to base your rich filter on is returning issues in the issue navigator.
If you are doing a bunch of rich filter configuration work, it makes sense to keep your dashboard open in one browser tab and open the rich filter config screen in another tab, so that you can easily switch between the two.
Sort tables asc/desc by clicking on their headers
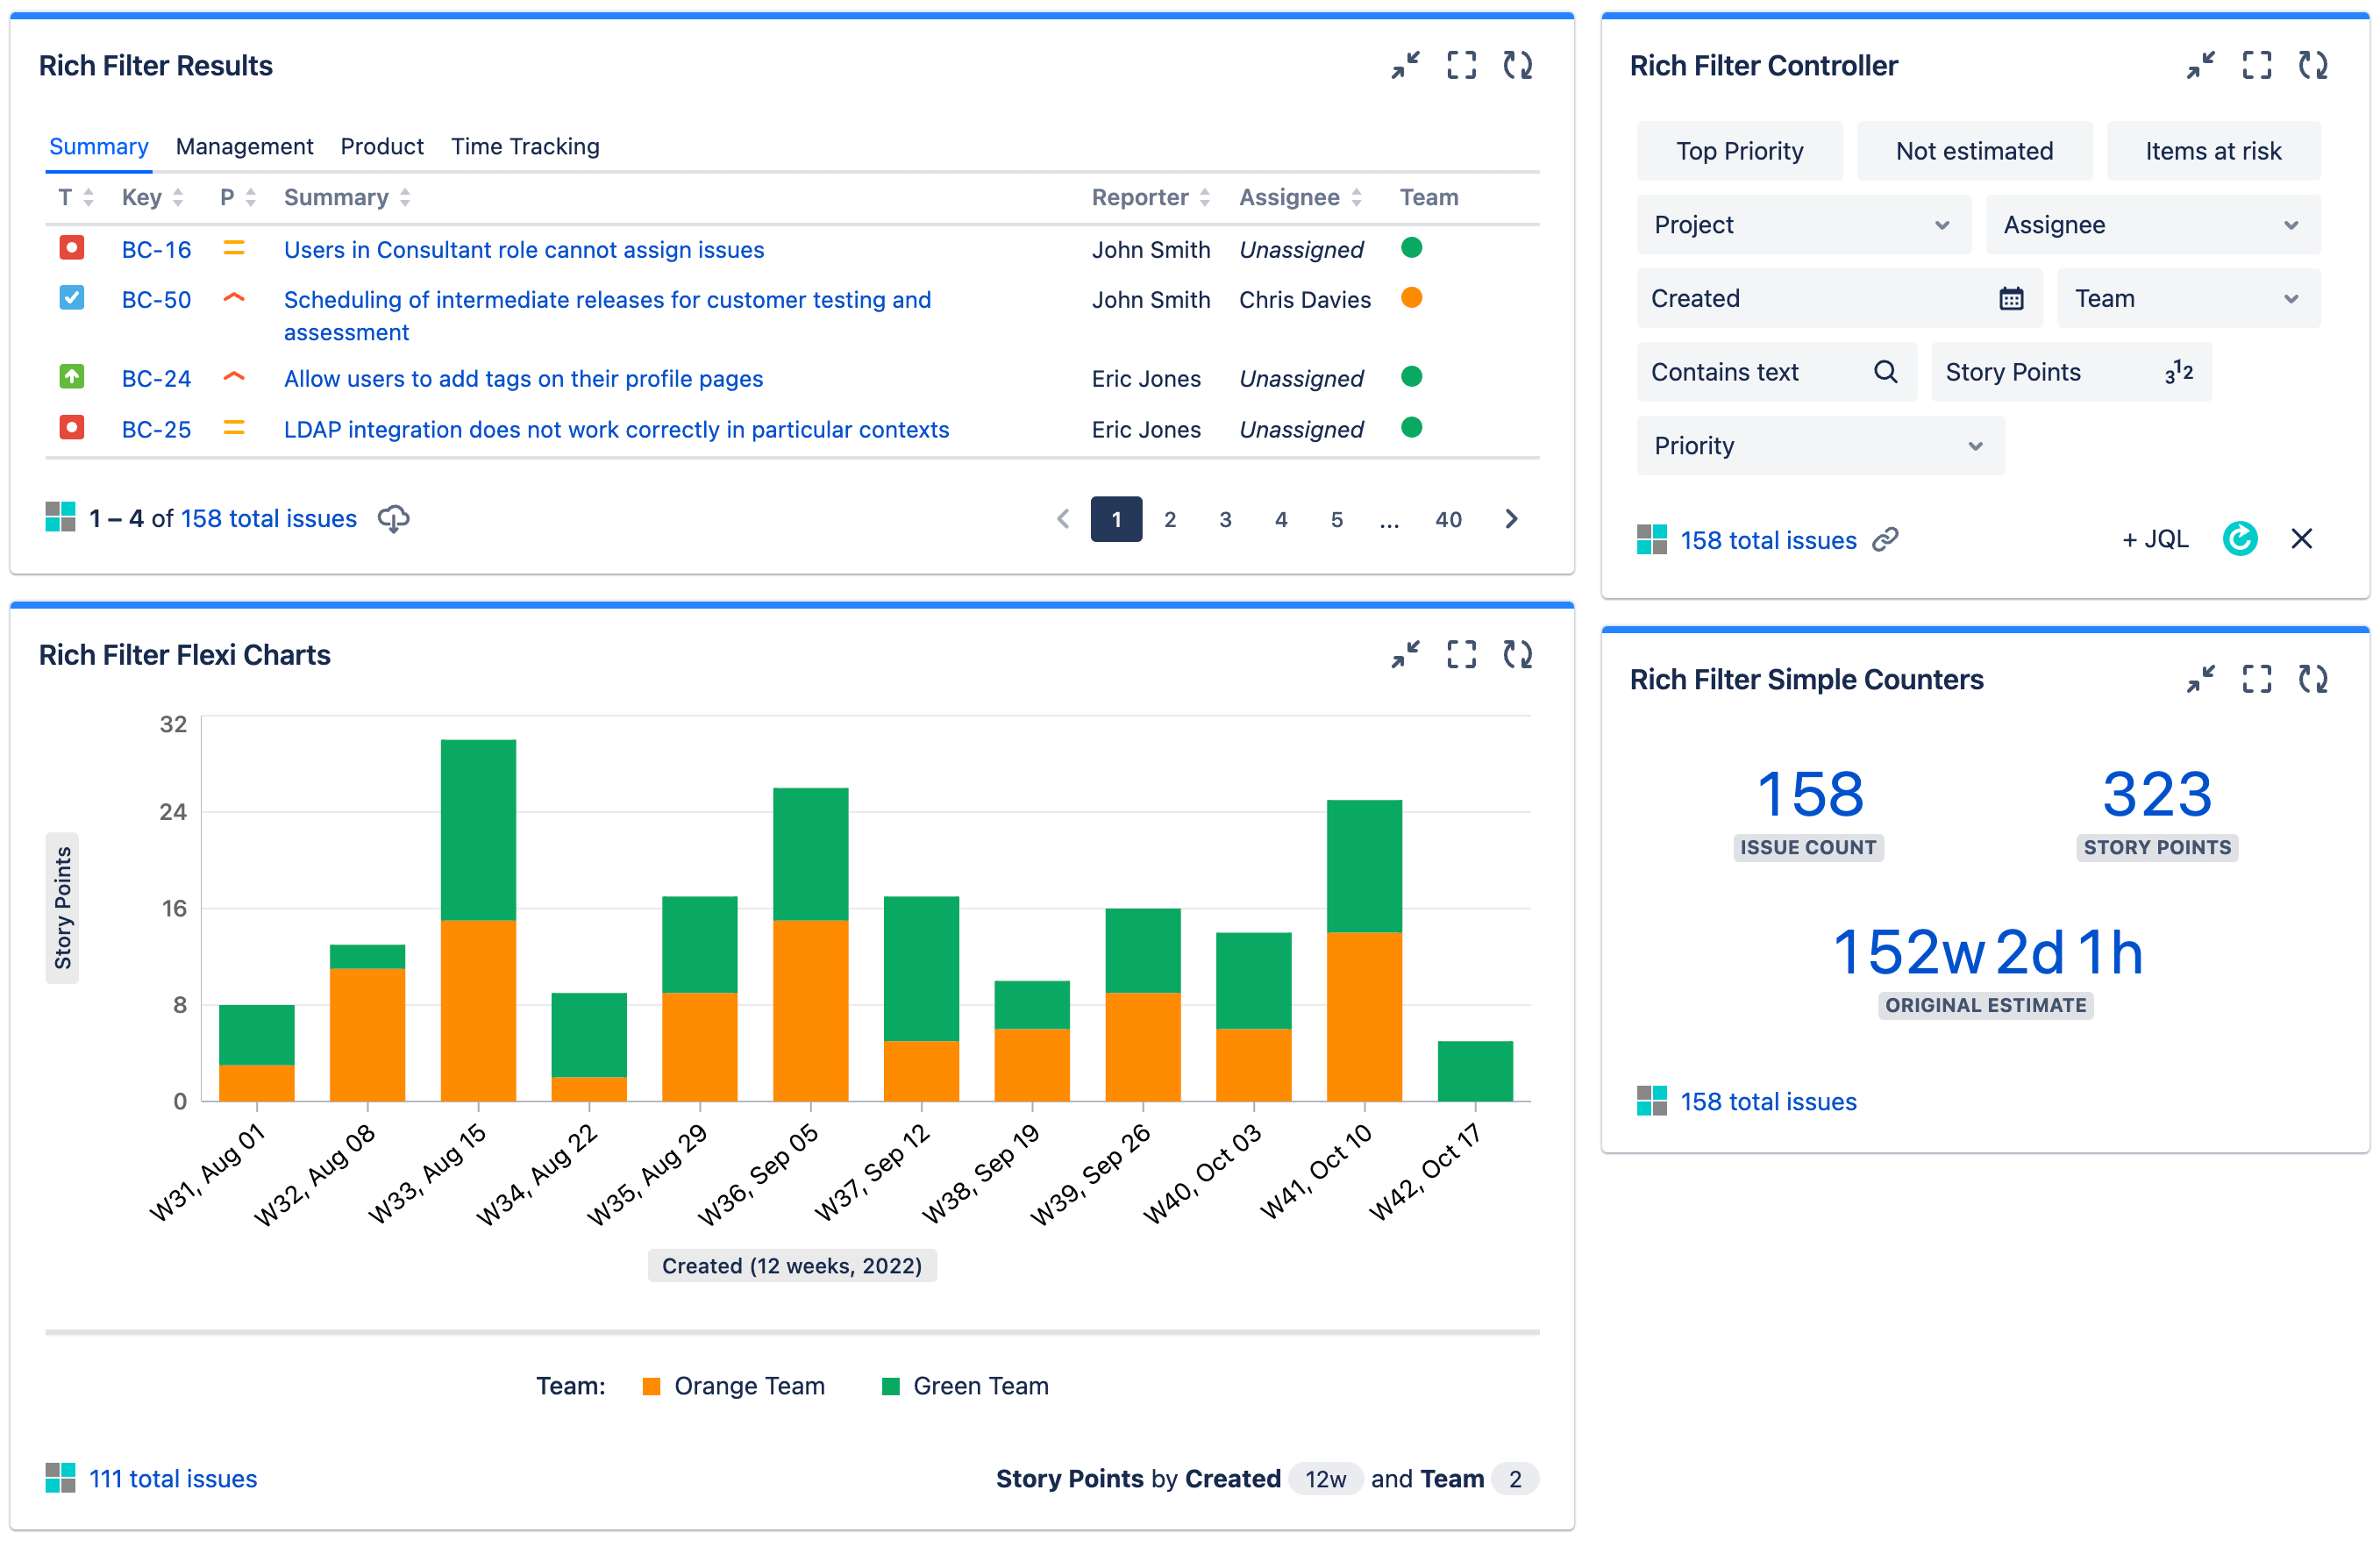
Before moving on, it is worth talking about sorting tables in rich filters. By default, the display order of the list of issues in the Rich Filter Results gadget is defined by the base Jira JQL filter the rich filter is based on. You can change the sorting by clicking on a table header to sort by that column. Click on the header multiple times to toggle between ascending and descending — the relevant arrow next to the column name will be highlighted to remind you whether the sorting is currently ascending (up arrow) or descending (down arrow).
For example, the image below shows the list sorted descending by Summary.

These sorting controls are available as standard in any table in rich filters, for all sortable fields.
Add some static filters to your controller
At this point your dashboard should be working fine, but it isn't doing much right now:
- The Rich Filter Results gadget shows a basic view of the list of issues returned by the Jira filter that you based your rich filter on.
- By default, the Rich Filter Controller gadget allows you to type in JQL queries to further filter the data displayed in the Rich Filter Results gadget.
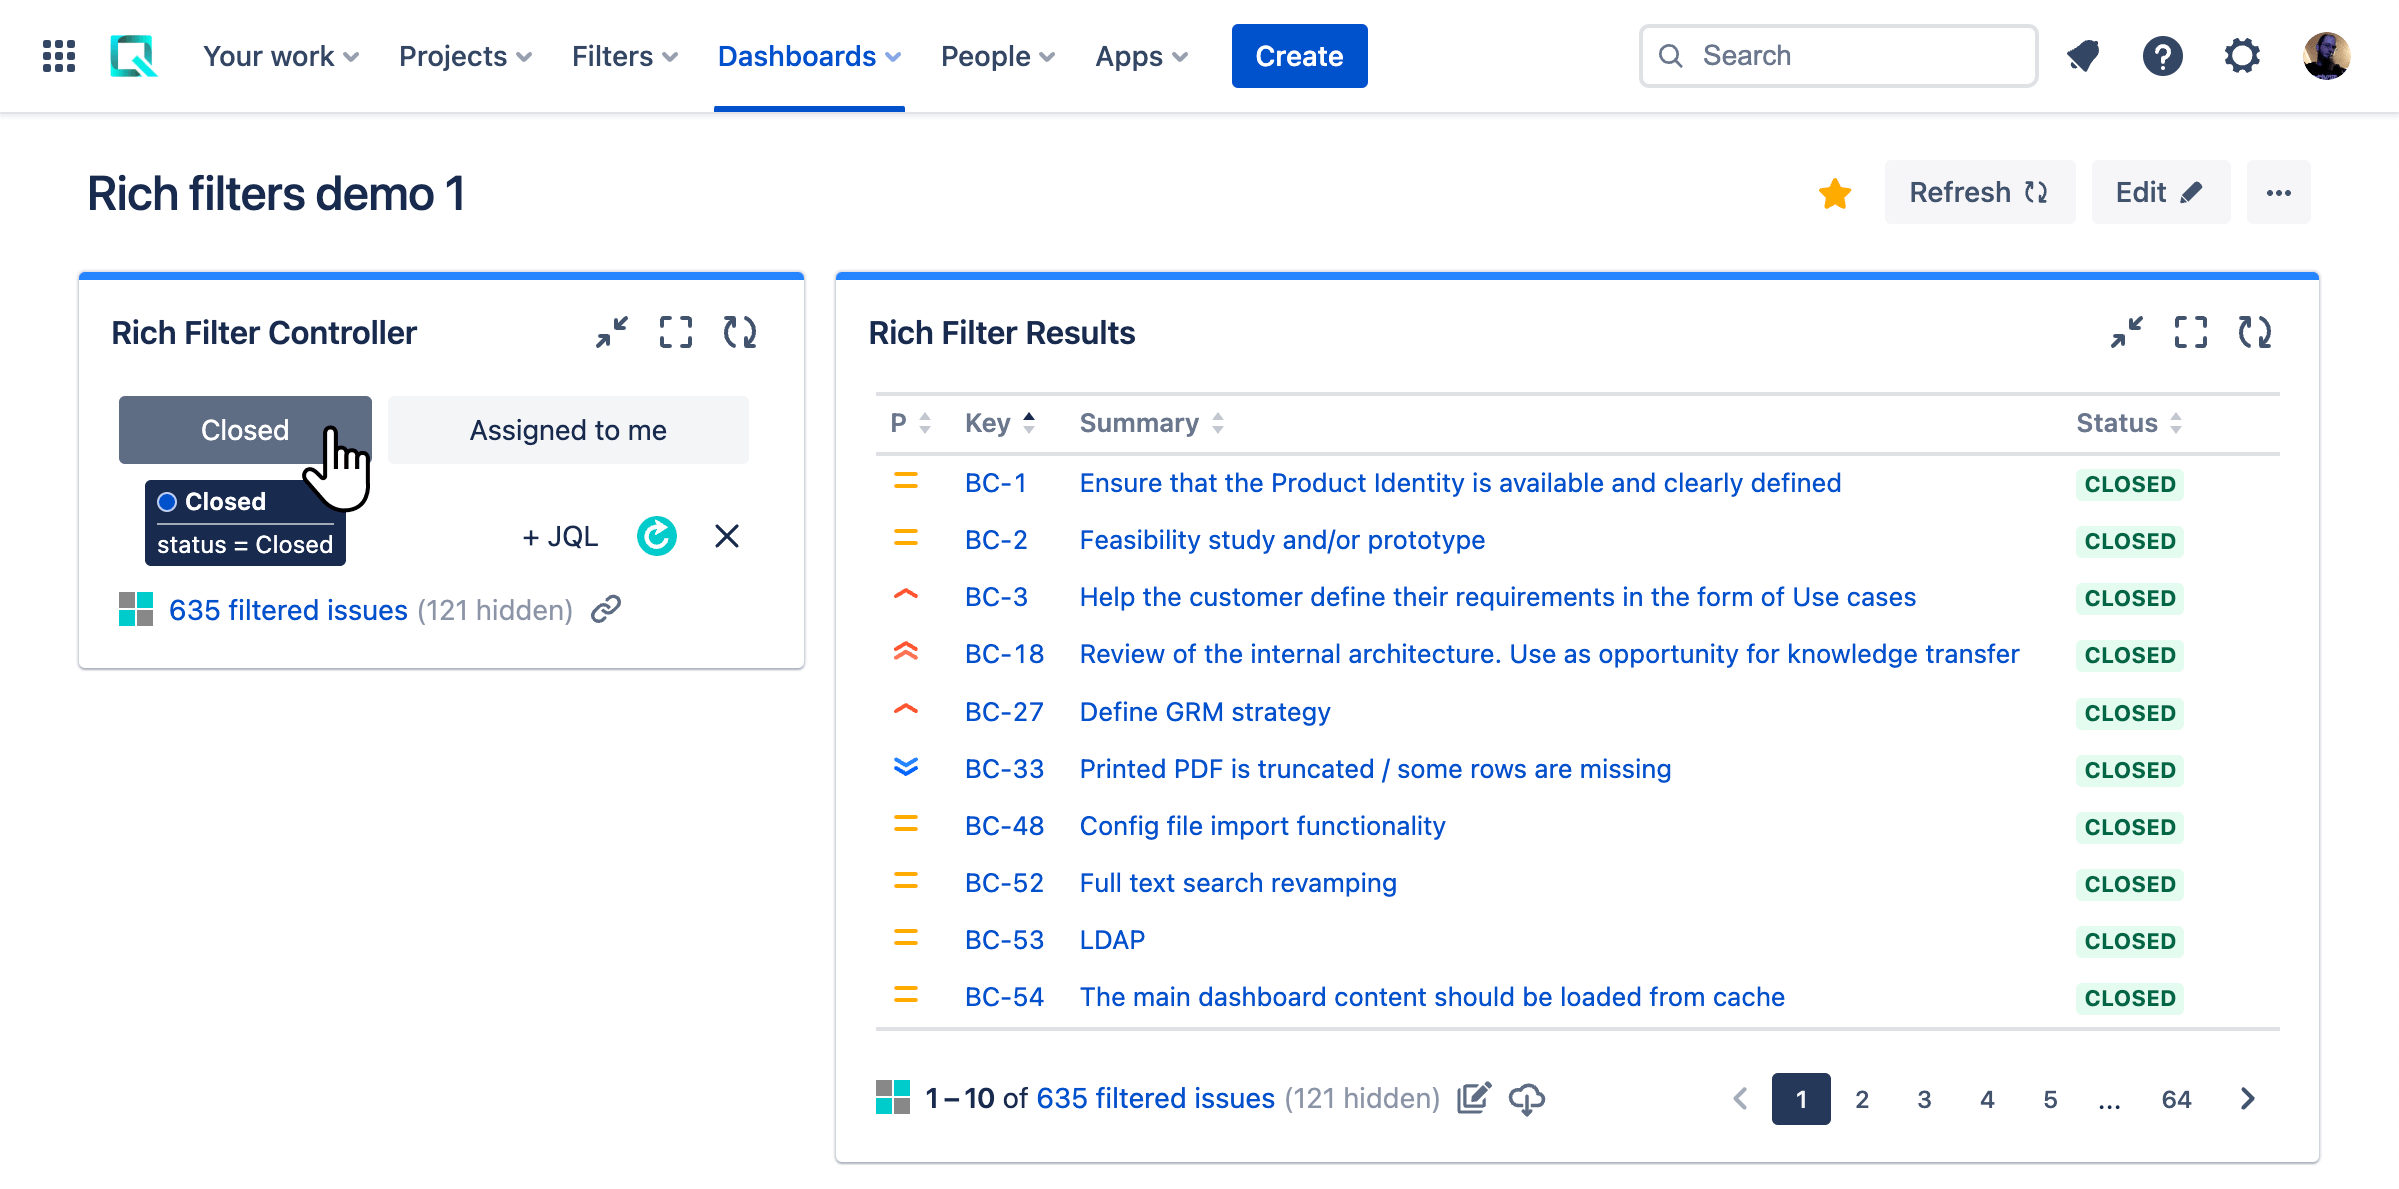
- Try typing in a simple query like "
status = Closed", and clicking the Apply filters button. - Reset the query by clicking the X button in the bottom-right corner of the controller. This is a useful button that clears all filters currently applied.

- Try typing in a simple query like "
To make filtering more flexible and start to demonstrate the power of rich filters, you can add static filters to the controller that will apply your JQL for you. Static filters are buttons that appear in the Rich Filter Controller gadget and allow you to toggle JQL queries on and off, applying them on top of your base filter. You can apply multiple filters at the same time.
In this section you will add two static filters to your controller.
- Go back to your rich filter config screen.
- Select the Static Filters tab, then click Create static filter.

- In the resulting dialog box:
- Give it the Name "Closed"
- Give it the JQL "
status = Closed" - Click Create
- Create another static filter in the same manner with:
- Name: "Assigned to me"
- JQL: "
assignee = currentUser()"
- Go back to your dashboard.
Refresh your dashboard using the Rich Filter Controller gadget's Optimized refresh button, available in the bottom-right corner.

The Optimized refresh button refreshes all rich filter gadgets based on the same rich filter as the controller in a performant manner, without having to reload everything like the default Jira refresh controls. This is especially useful if you go to your rich filter config screen, make changes, then go back to your dashboard and want to refresh all your gadgets instantly.
- You'll now see the static filters you created available as buttons in the Rich Filter Controller gadget. Try toggling them on and off, and see how the issue list updates in real time. Note also how, when you hover over the filters, you get a tooltip showing the exact JQL query that powers each one.
You can change the order of the static filters in the rich filter config screen.
- Go back to your rich filter config screen and select Static Filters.
- Drag and drop the static filters up and down the list to change the order (you can also Tab to the filter to focus it, press Space, and then use the up and down cursor keys to adjust its position).
- Go back to your dashboard and click the Optimized refresh button in the controller. The filters will appear in the controller in the same order as they are placed in the config screen list.
Next steps
You are advised to work through the Fundamentals articles in order, but each one works as a standalone topic, so you can jump to specific topics of interest if that suits you better.
You can use the rich filter you created in this article as a starting point for other tutorials.